
California Rolls are so called because they were created in California (supposedly by a Japanese chef). I love them and they are wildly popular even among those who wouldn’t dare eat raw fish! California rolls are great also because they use ingredients that are generally available anywhere in the world! They are a bit more difficult to make than regular rolls, but you will get better as you practice.
Cooking time: 20 mins + Sushi Rice prep time
INGREDIENTS (2 Servings)
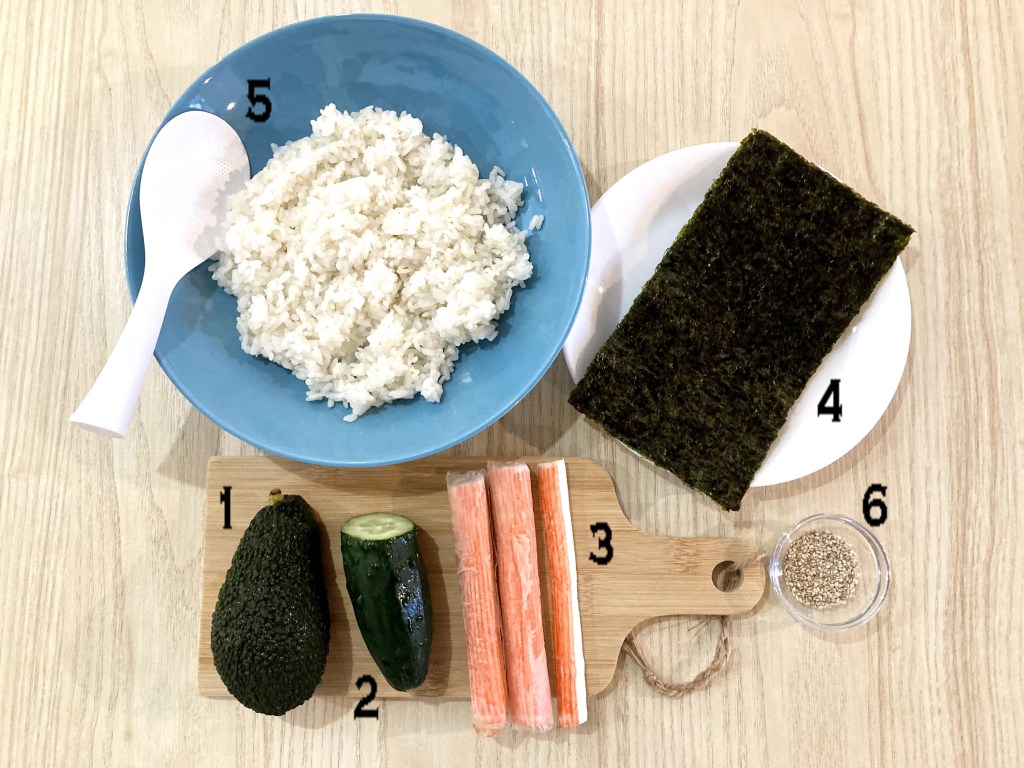
- Avocado: ½
- Cucumber: ½
- Imitation crab meat: 2-3 sticks
- Seaweed: 1 ½ sheet
- Sushi rice: 300g (see “Sushi Rice“)
- Sesame: 8g (1 tbsp)
This recipe yields about 2 to 3 rolls (=2 servings), depending on how thinly you can spread the rice on the seaweed!
BEFORE YOU START
Q. Do I need to a rolling mat?
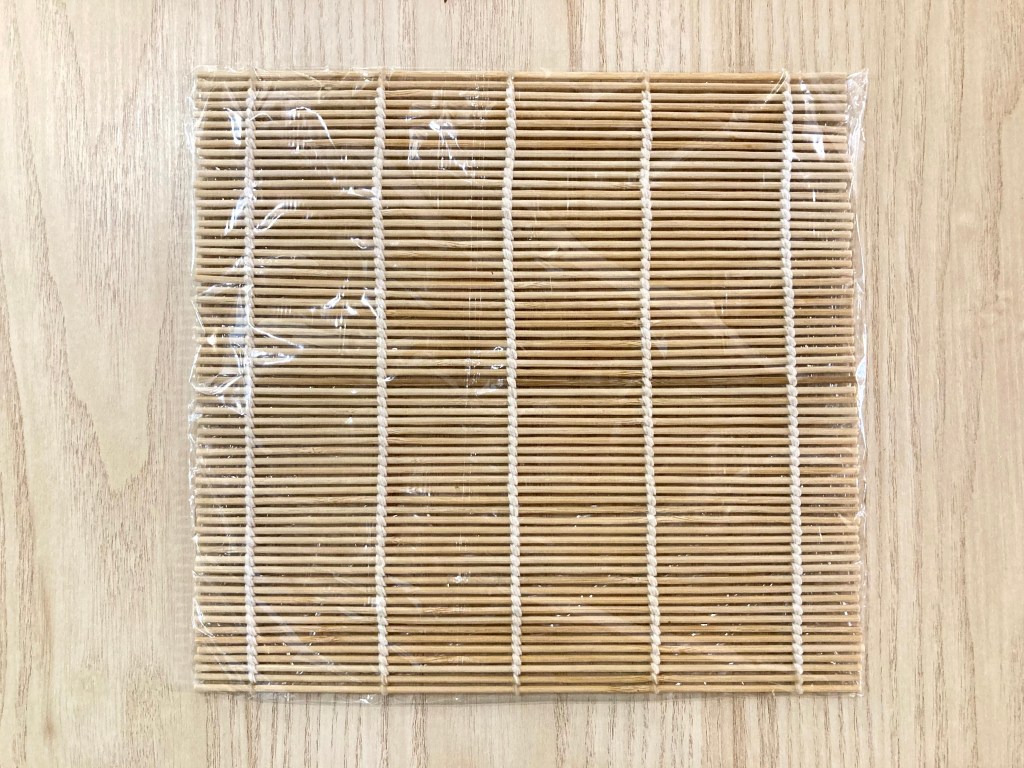
If you don’t have a rolling mat, you can use plastic wrap or parchment paper although it will be more difficult and you may need to practice a bit. Also, even if you do have a mat, make sure to wrap it with plastic wrap (as shown in the picture) when you make California rolls (so that the rice won’t stick to it).

Q. What is “Uramaki“?
California rolls are rolled inside-out (called “Uramaki”), with the seaweed rolled inside rather than facing outside. Supposedly the chef who invented this roll did so to make it less intimidating to those who didn’t like the idea of eating seaweed (but this also made it a little more difficult to make!).
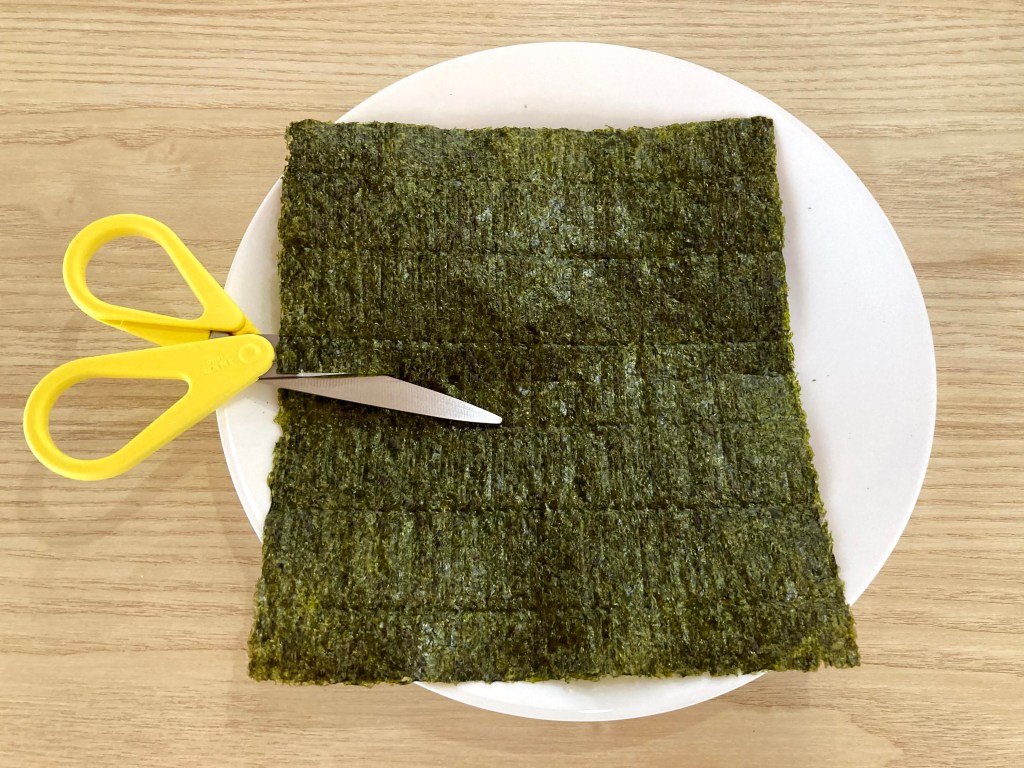
Q. How do I cut the seaweed?
The standard size seaweed is 21cm x 19cm, not completely square, and the lines on the surface run parallel to the shorter side. For half-size rolls, it seems customary to cut the longer side in half so that the roll will be thicker and can hold more stuff in.
NOW, LET’S START!

1. Cut the veggies. Cut the avocado1 and cucumber2 into thin slices and split the imitation crab3 in half.

2. Put seaweed on the mat. Place the seaweed4 at the bottom of the mat, with the rough (non-shiny) side facing up.

3. Spread the rice on the seaweed. Make sure to wet your fingers every time before you touch the rice5. I usually use my rice paddle to do this whole process to keep my hands clean!
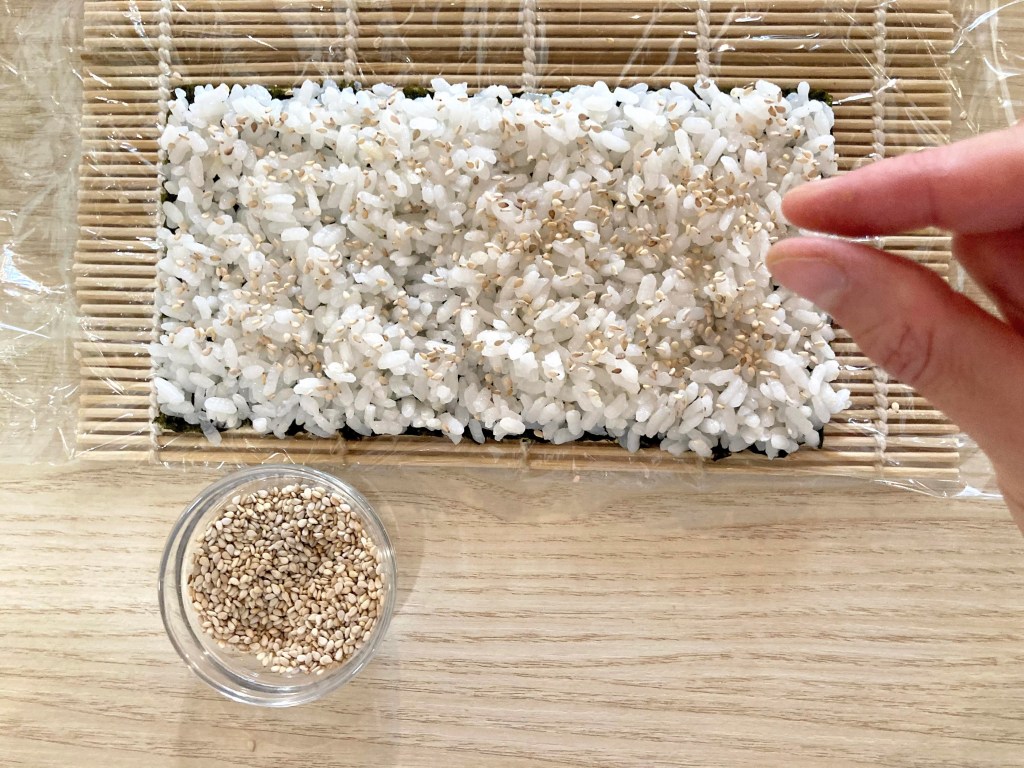
4. Sprinkle the sesame seeds. Sprinkle the sesame seeds6 evenly over the rice.

5. Flip it. Now, using both hands, turn it upside down, and try to land near the bottom of the rolling mat.
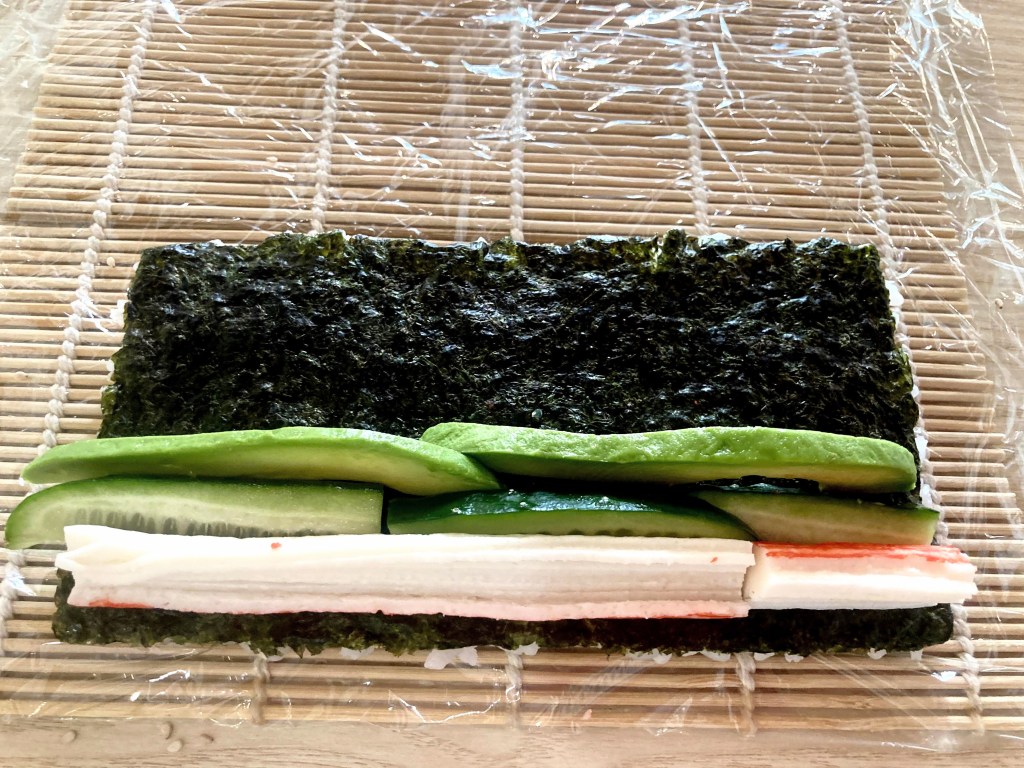
6. Place the filling. Place the filling near the bottom (about 1cm or 1/2 inch above the line).

7. Start rolling. Start rolling from the bottom, holding the filling with the index fingers to prevent it from spilling out.

8. Peel off the mat. When the bottom end lands on the seaweed, start peeling off the mat while you keep rolling so that it will not get rolled into the sushi! Once you finish rolling, squeeze it gently so that it won’t fall apart when you open the mat.

9. Slice it into 8 pieces. Cut the sushi, first into 1/2, then 1/4, and finally 1/8. Wet the knife and your fingers each time before you touch the sushi (or cover it with a plastic wrap). Serve with soy sauce, wasabi and pickled ginger, as you wish!
Uramakis are more difficult than regular rolls, especially when it comes to cutting (because the rice is very sticky). If you don’t mind the shiny black seaweed facing outside, just roll them like regular rolls, which is a lot easier! Also, if your filling keeps spilling out, you may want to use a full-size seaweed sheet instead of half-size.
