
A friend of mine here in Barcelona recently took a sushi-making class and was overwhelmed by the process of washing and cooking rice! But it is actually quite easy, and you can cook rice in less than 15 minutes, including the wash, which takes less than a minute!
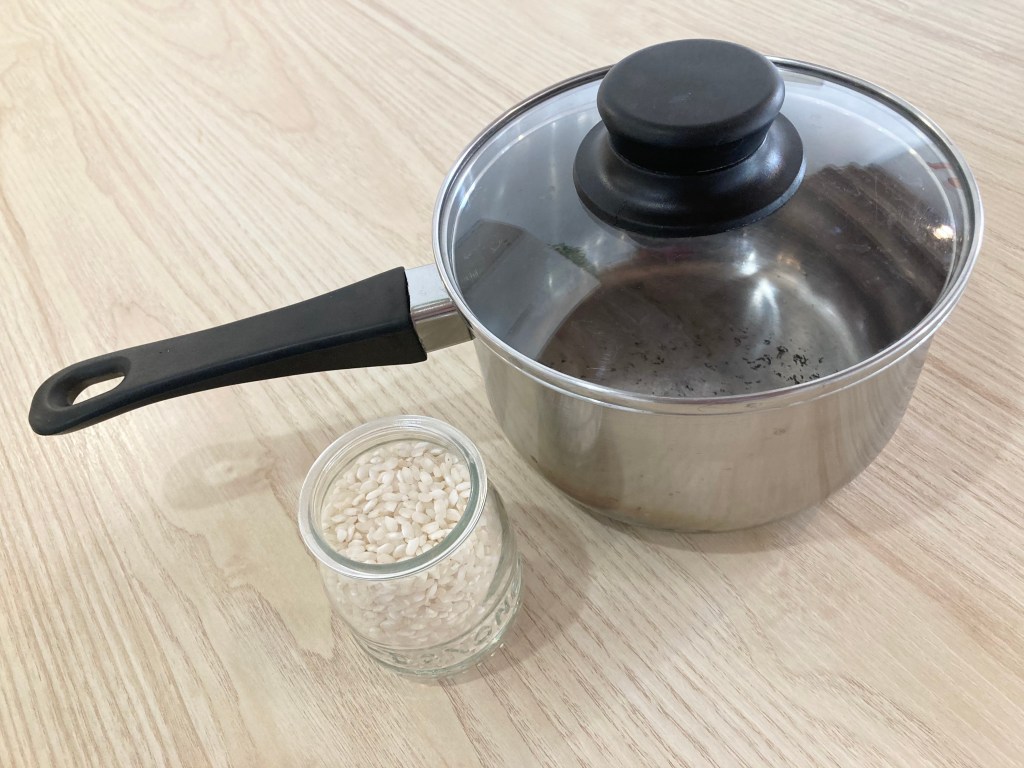
You can use whatever pot you have in your kitchen as long as it comes with a lid. I am not one of those Japanese moms with a fancy rice cooker either, as, being a minimalist, I hate to lose the precious counter space for a machine that serves only one purpose!
I have been cooking my rice the authentically Japanese way using my IKEA pot, and my rice comes out as delicious. In fact, quite a few of my friends in Japan told me that they are also ditching their rice cooker, as they believe cooking in a pot makes the rice more delicious!
Cooking time: 15 mins
INGREDIENTS
- Rice: Any amount
- Water: Same amount as rice*
One friend asked me if she should add salt. We don’t in Japan (unless you are cooking flavored rice), but feel free to do so if that’s what you like! Read also below to get an idea on how much rice you want to cook.
* The rice-to-water ratio may vary depending on the type of rice and personal taste. You may have heard the golden rule being 1:0, 1:1, 1:1.5, 1:2, etc., but there is no hard set rule. My dad used to like his rice more soggy and watery, while my sisters wanted it drier. Just try to find the ratio that you like as you practice!
BEFORE YOU START

Q. How much rice should I cook?
The weight of rice doubles when cooked, and the volume (i.e., size) triples. For example, 100g becomes 200g, making about 2 rolls of sushi or 2 small bowls. Just to give you an idea, this Dannon yogurt cup holds about 130g, which is good for approximately 2 bowls.

Q. What is a rice cooker cup?
The Japanese cooking cup measure (200ml) is smaller than the US one (250ml), and there is even a special cup used exclusively to measure rice and sake (180ml/150g – see the picture)! So when we say “Rice cup” or “Rice cooker cup“, we are referring to 180ml/150g of rice, which doubles in weight when cooked (300g) and triples in size, making about 3 rolls of sushi.

Q. What if I don’t have a rice cup?
Not a big deal. You can use any cup to measure the rice as long as you use the same cup to measure the water. You just need to know how much rice will be enough for you. Simply grab any cup or glass you have and imagine the rice growing three times as big. If you cook too much, you can freeze the leftover rice for later use. (Many Japanese moms do that!)
Q. Do I need to use Japanese rice?
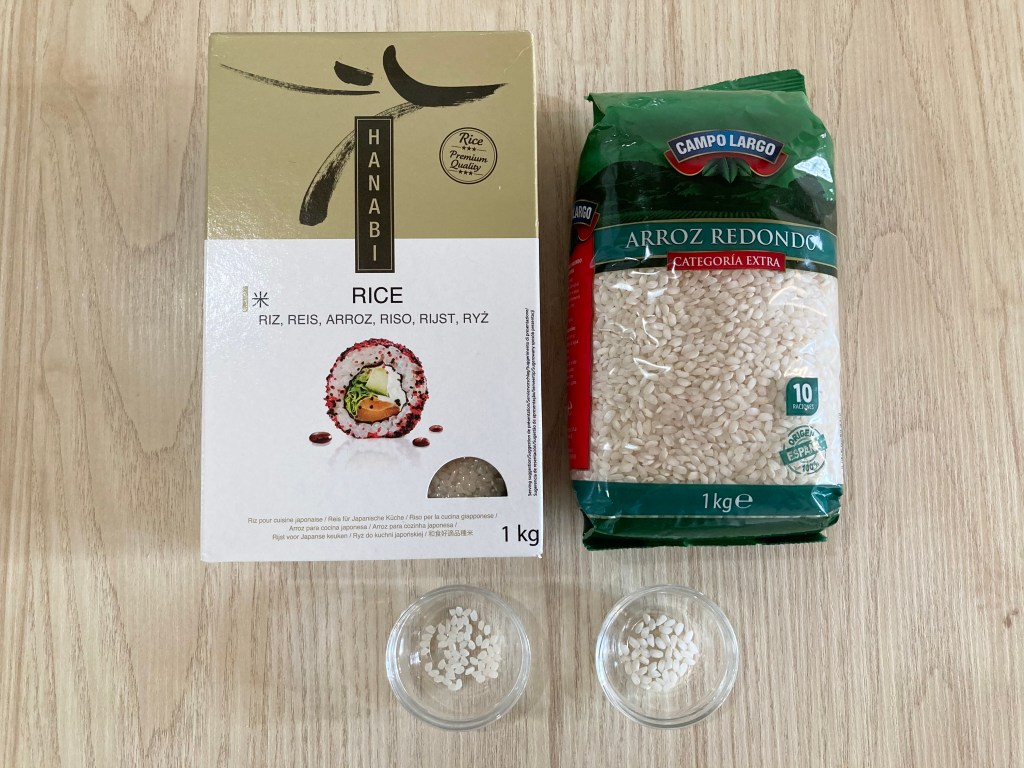
I am often asked whether it’s necessary to use Japanese rice to cook sushi or other Japanese food, and the answer is a categorical NO! Outside of Japan, the price of Japanese rice is often exorbitant, and many Japanese restaurants overseas use locally produced rice and most customers not even noticing! The green package on the right is what I use for daily cooking, about 1€ for 1kg, from a local supermarket.

Q. What kind of rice should I buy?
When you buy non-Japanese rice, make sure you buy short or medium grain, and avoid long grain options like basmati or jasmine. I like basmati and jasmine too, but their dryness and distinct flavors don’t pair well with Japanese dishes. The picture shows Japanese rice (left) and Spanish rice (right). The Japanese grain is smaller, shorter, rounder and more transparent. But, trust me, they don’t look that different once cooked!
NOW, LET’S START!
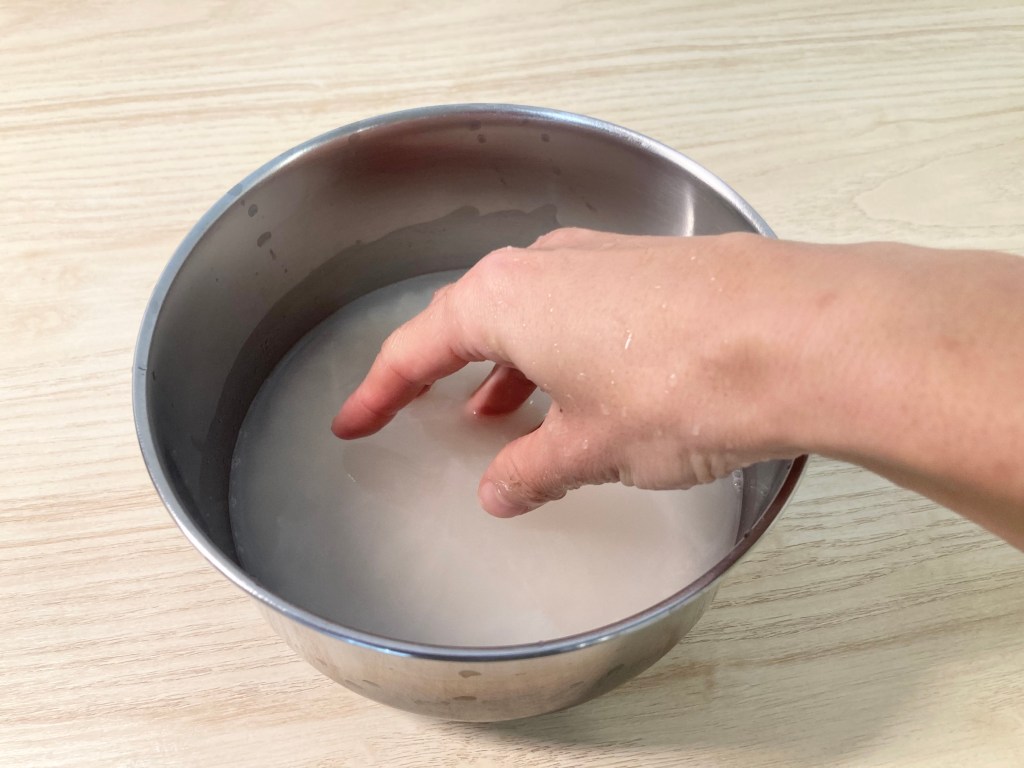
1. Rinse. In Japan we always rinse rice to remove surface starch that can make the rice gummy. Many foreigners find this process overwhelming, but it is actually quite easy and takes less than 1 minute. Just put the pot under running water, stir the rice with your hand, and change the water 4 or 5 times until the water becomes more or less clear.

2. Drain. After you have rinsed the rice, drain the water using a colander. If you don’t have one, just do your best by tilting the pot to drain only the water and not spill the rice. You will get better with practice!
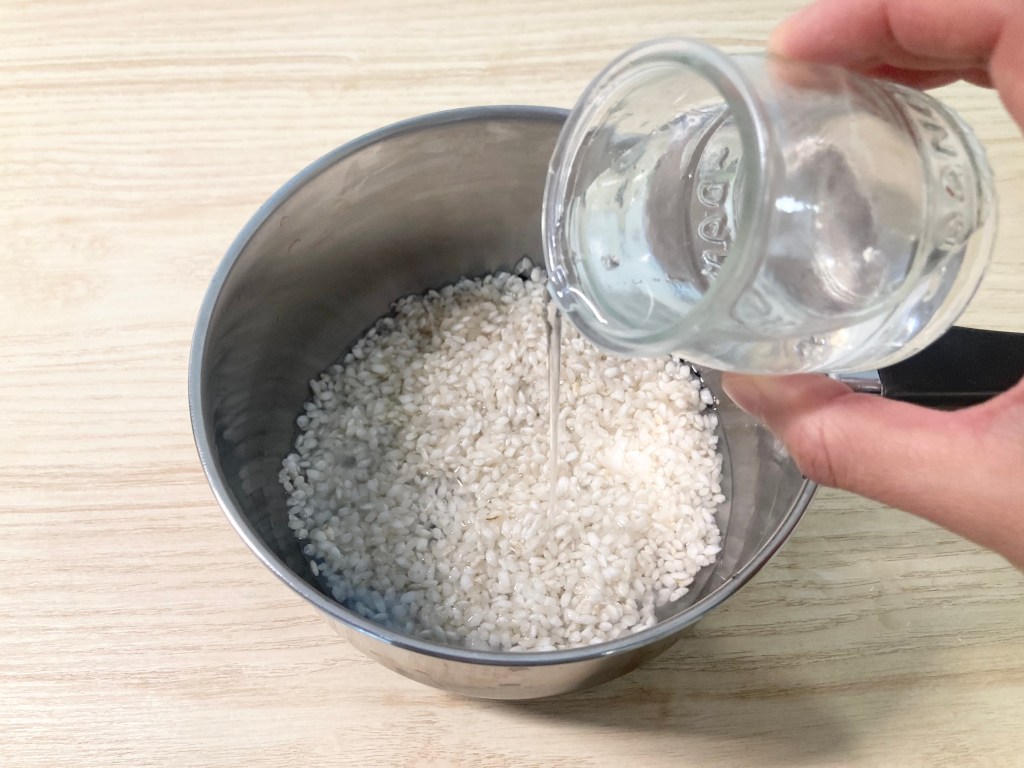
3. Add water. Pour clean water in the rice at a 1:1 ratio (add 30% more water for brown rice), using the same cup that you used to measure the rice.
Additional tip: If you have time to spare, you can let it sit before cooking for about 30 minutes, which may help, depending on the type of rice, soften the rice and/or prevent water bubbles from leaking around the lid during cooking. (Don’t skip this step if you are cooking brown rice!)

4. Let it boil, then cook for 5 mins on medium heat. Bring the rice & water to a boil on medium heat (level 7 out of 9 on my induction cooktop — usually takes 5-8 minutes on my cooktop). Once the water starts boiling, start the kitchen timer and continue to cook for another 5 minutes on medium heat (level 6). Keep the lid closed throughout.

5. Cook for another 5 mins on low heat. When the kitchen timer sounds off, reduce the heat to low (level 3 out of 9 on my cooktop) and continue cooking for another 5 minutes. Open the lid, and the rice should be ready and fluffy! Be prepared to see the bottom of the rice a little burned the first time. Adjust the amount of water or cooking time to suit your particular cooktop or taste.
Easy, isn’t it? The reason for the two-step process (first medium heat, then low heat) is to prevent the rice at the bottom from burning and allow vapor steam to finish cooking the rest of the rice in the pot during the last 5 minutes. Most Japanese households have an electronic rice cooker at home, so they rarely cook rice on a cooktop (and they may not even know how to). But I assure you, it tastes as good, if not better, than rice cooked in an electronic pot or kitchen robot, and cooking rice with a pot saves precious kitchen counter space, too!
